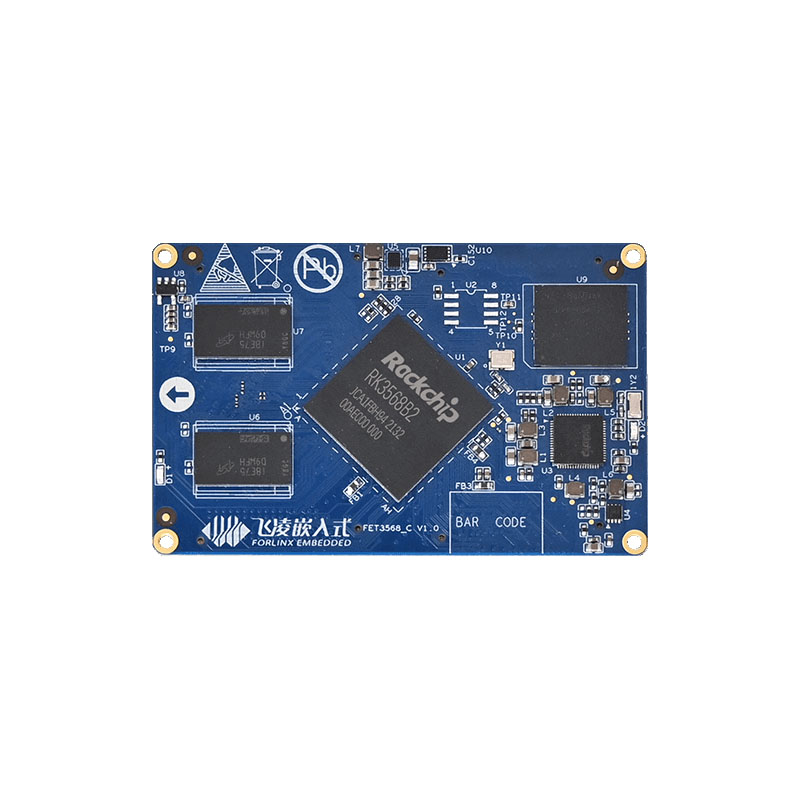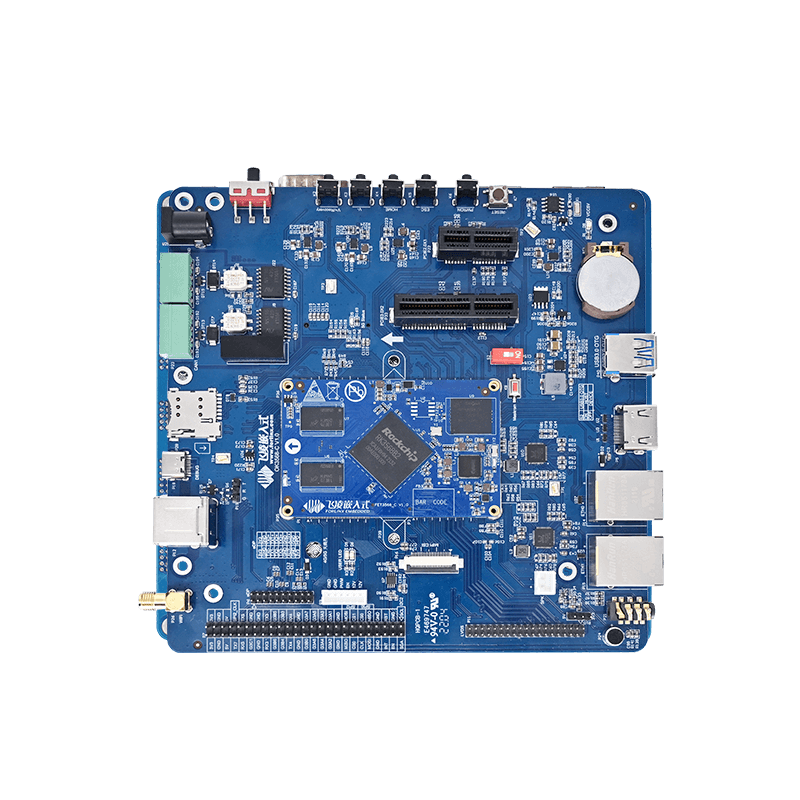
RK3568 Platform Network Service Setup and Network Boot: TFTP, NFS and U-Boot Configuration Details
Looking to harness the power of the RK3568 platform for your embedded systems? This comprehensive guide walks you through setting up essential network services including TFTP and NFS, as well as configuring U-Boot for seamless network booting. Whether you're developing Linux-based solutions or deploying ARM64 systems, mastering these configurations will optimize your RK3568 board’s performance and streamline your development process.
TFTP Service Setup
1. Server, Client , Installation, and Daemons
forlinx@ubuntu:~$ sudo apt-get install tftp-hpa tftpd-hpa xinetd
2. Server Configuration
First, create a tftpboot in the root directory and change the attributes to read and write for any user:
forlinx@ubuntu:~$ cd /
forlinx@ubuntu:~$ sudo mkdir tftpboot
forlinx@ubuntu:~$ sudo chmod 777 tftpboot
Then, go to the directory /etc/xinetd.d/ and create a new file tftp in it, adding the specified contents to the tftp file:
forlinx@ubuntu:~$ cd /etc/xinetd.d/
forlinx@ubuntu:~$ sudo vim tftp
Add the following to the tftp text.
service tftp
{
disable = no 138
socket_type = dgram
protocol = udp
wait = yes
user = root
server = /usr/sbin/in.tftpd
server_args = -s /tftpboot -c
per_source = 11
cps = 100 2
}
Finally, modify the configuration file /etc/default/tftpd-hpa
forlinx@ubuntu:~$ sudo vim /etc/default/tftpd-hpa
Modify to
TFTP_USERNAME="tftp"
TFTP_DIRECTORY="/tftpboot"
TFTP_ADDRESS="0.0.0.0:69"
TFTP_OPTIONS="--secure -l -c -s"
Make sure to change TFTP_DIRECTORY to the path where the newly created tftpboot directory is located.
3. Services Restart
forlinx@ubuntu:~$ sudo /etc/init.d/xinetd reload
forlinx@ubuntu:~$ sudo /etc/init.d/xinetd restart
forlinx@ubuntu:~$ sudo /etc/init.d/tftpd-hpa restart
4. Server Test
To test this, create a new file in the /tftpboot folder
forlinx@ubuntu:/tftpboot$ sudo touch abc
Go to another folder
forlinx@ubuntu:/tftpboot$ cd /home/
forlinx@ubuntu:/home$ sudo tftp 192.168.2.51 	//192.168.2.51 is the local IP
tftp> get abc
tftp> quit
forlinx@ubuntu:/home$ ls
abc
If the server can be downloaded, it indicates that the server has been installed successfully. Once the development board is connected to the PC using an Ethernet cable, you can utilize TFTP to download files.
bootz ${loadaddr} - ${fdt_addr};
NFS Service Setup
1. The method for setting up an NFS server on Ubuntu is as follows:
Software download and installation
forlinx@ubuntu:~# sudo apt-get install nfs-kernel-server nfs-common portmap
Create the NFS directory and extract the file system (using rootfs.tar.bz2 as an example, with the current directory as the root directory).
forlinx@ubuntu:~# cd /
forlinx@ubuntu:/# sudo mkdir nfs_rootfs
forlinx@ubuntu:/# sudo tar -xvf rootfs.tar.bz2 -C /nfs_rootfs/
Modify the configuration file
forlinx@ubuntu:/# sudo vim /etc/exports
Add the following configuration to the file:
/nfs_rootfs *(rw,sync,no_root_squash,no_subtree_check)
Restart configuration files and services
forlinx@ubuntu:/# sudo exportfs -rv
forlinx@ubuntu:/# sudo /etc/init.d/rpcbind restart
forlinx@ubuntu:/# sudo /etc/init.d/nfs-kernel-server restart
2. Verify the NFS server on the development board (you need to make a file system supporting
NFS according to the application note), and execute the following command to mount the NFS server to the/mnt directory of the development board.
root@OK3568:~# mount -t nfs4 -o vers=4 192.168.0.57:/nfs_rootfs /mnt
After successful mounting, check the /mnt directory and you will see the file system you just extracted.
root@ OK3568:~# ls /mnt/
Note: 192.168.0.57 is the IP of the NFS server host ubuntu, ubuntu's network needs to be set to bridge mode, and with the development board in the same network 192.168.0.57
Boot via the network.
1. First, configure the kernel separately to enable NFS-related services.
Under the OK3568-linux-source/kernel directory:
make ARCH=arm64 menuconfig  // Open the graphical configuration interface
Enable the NFS configuration. Find the following configuration and compile it into the kernel:
Networking support
----->Networking options
----------->[*]IP:kernel level autoconfiguralion
----------->[*]DHCP support
File systems
---->[*]Network file system
-------->[*]NFS client  support
-------->[*]NFS client support for NFS vision2
-------->[*]NFS client support for NFS vision3
-------->[*]NFS client support for the NFSv3 ACL protocol extension|
-------->[*]NFS client support for NFS version 4
-------->[*]Provide swap over NFS support
-------->[*]NFS client support for NFSv4.1
-------->[*]Root file system on NFS
Save and exit to the command line after the configuration is completed
Open arch/arm64/boot/dts/rockchip/OK3568-C-linux.dts
Change root=PARTUUID=614e0000-0000 to root=/dev/nfs
make ARCH=arm64 OK3568-C-linux.img compile to get boot.img, flash it separately.
2. Ensure that the virtual machine completes the TFTP and NFS services normally, and copy the kernel image to the tftoboot directory.
=> setenv ipaddr 192.168.2.85           		//Set the board IP
=> setenv serverip 192.168.2.51          		//Set the TFTP Server IP
=> setenv image  boot.img              	//Set the kernel image on the TFTP server to be downloaded locally
=> setenv fdt_file OK3568-C-linux.dtb 	//Set the device tree on the TFTP server to be downloaded locally
=> setenv netargs setenv bootargs root=/dev/nfs rw ip=192.168.2.85:192.168.2.51:192.168.2.1:255.255.255.0::eth0:off  nfsroot=192.168.2.51:/nfs_rootfs,v3	                     //Set the location of the NFS system
=> setenv netboot ‘run netargs; tftpboot 0x04080000 ${image}; tftpboot 0x0a100000 ${fdt_file}; bootm ${loadaddr} - ${fdt_addr}’
The uboot phase runs the following command to boot from the network.
=> run netboot
If only nfs is needed to mount the network file system:
=> run netargs
=> boot


