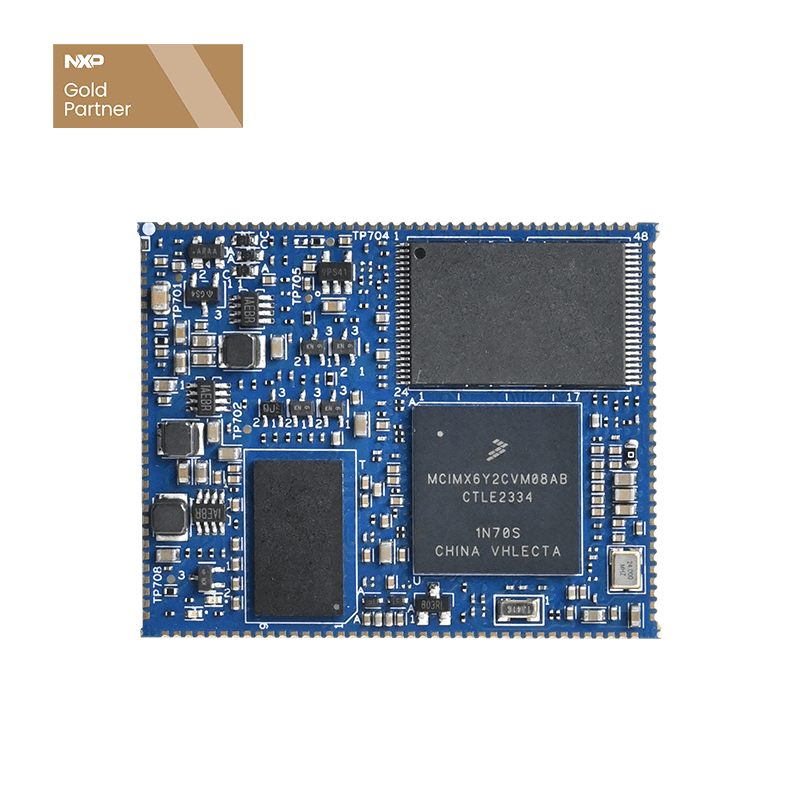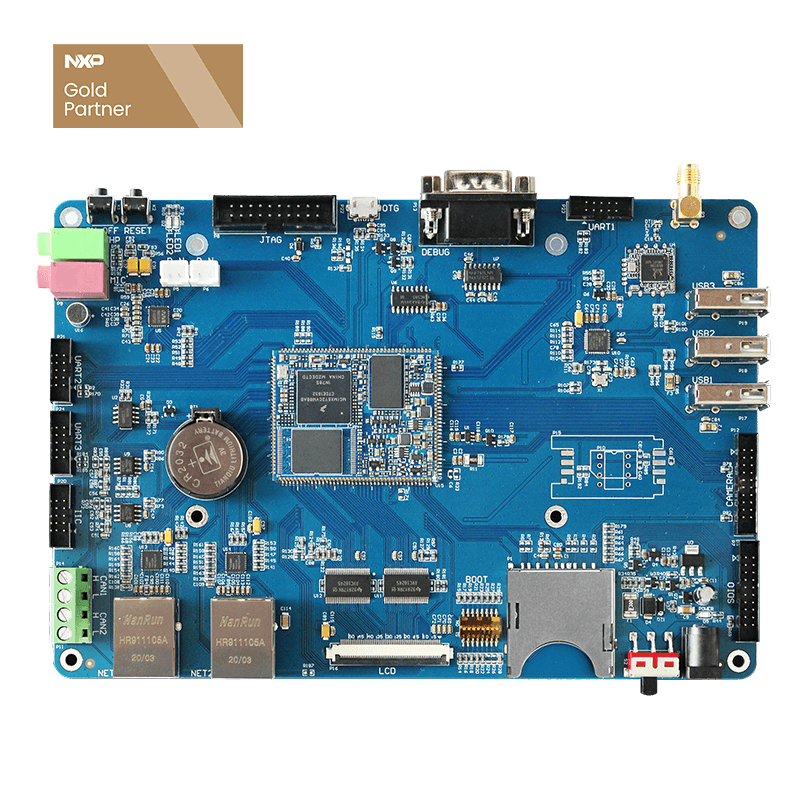
How to Burn iMX6ULL SBC System
This article is based on Forlinx Embedded OKMX6ULL-S SBC, which is divided into three parts, mainly explaining iMX6ULL SD card programming system and OTG programming system and the steps of updating the kernel in one step. With this article you can quickly implement the programming of Forlinx iMX6ULL single board computer system.
First. SD card burning system
Taking nand-sdburn as an example, burning NAND for operation instructions, And the Settings of Forlinx iMX6ULL DIP Switch are as follows.
To set the DIP switch:
| Burning/Starting | NO1 | NO2 | NO3 | NO4 | NO5 | NO6 | NO7 | NO8 |
| SD card burning | 0 | 0 | 1 | 0 | 1 | 0 | 0 | 1 |
| EMMC starts | 0 | 0 | 1 | 0 | 0 | 0 | 0 | 0 |
| NAND boot | 0 | 0 | 0 | 1 | 1 | 0 | 0 | 1 |
| OTG programming | 1 | 1 | X | X | X | X | X | X |
Note: In the table above, "1" stands for ON, "0" stands for OFF, and "X" stands for irrelevant.
1. Make SD card
Copy the file nand-burn sd to any directory on the Ubuntu system, assuming /home/neo/work.
User Profile\Linux\Burn Tool\nand-sdburn.zip, a 256M NAND file system.
User Profile\Linux\Burn Tool\emmc-sdburn.zip, a 4G EMMC file system.
Step 3: After the virtual machine recognizes the SD card, the directory will pop up and then perform the following flash operation. Go to the /home/neo/work/nand-burnsd directory and execute the script:
neo@ubuntu:~/work/nand-burnsd$ sudo ./6ullsdburn.sh
After executing the above command, the terminal will list the computer's hard disk or U disk, corresponding to select your own SD card, enter.
Note: Determine that their own U disk is sda/sdb/sdc can be judged according to the capacity, such as their own USB disk capacity of 4G, its size is 3872256 KB≈ 4G, it is recommended that users do not insert multiple USB disks at the same time when doing this, so as not to be confused.
Here's an example of our operation:
Select 1, Enter
Select y, enter, and wait until card making is complete.
If the information identified in the red box in the following figure is not in the printed information, the SD card mounting fails, and you need to use Ubuntu to re-uninstall and mount it.
After the card is made, you can see that the boot partition contains two directories, sdrun and target. The contents of the sdrun folder are used to boot the system to be programmed without modification; the target directory contents are burned to the flash chip. If you need to replace the image file, simply replace the corresponding file in the target directory, keep the same name, and then re-burn the system.
2. SD card flashing system
Insert the SD card made in the previous section and place the DIP switch as shown in the image below. 3, 5, 8 are ALL, 1, 2, 4, 6, 7 are OFF, as shown in the following figure. At this point, the contents of the target in the SD card are burned into the NAND.
- lib/modules/4.1.15-00026-g407ada6-dirty/modules.softdep
- lib/modules/4.1.15-00026-g407ada6-dirty/source
- lib/modules/4.1.15-00026-g407ada6-dirty/modules.dep.bin
- lib/modules/4.1.15-00026-g407ada6-dirty/modules.symbols
- Update Complete!!!!!!!
At the same time, the LEDs on the iMX6ULL baseplate blink. The programming time is longer, wait for the system to complete the programming, and then print the information on the serial port:
After the programming is completed, the power is cut off, the dip switch is dialed to 4, 5, 8 are ALL ON, 1, 2, 3, 6, 7 are OFF, the iMX6ULL development board is re-powered, and the NAND starts.
3. OTG programming system
Note: iMX6ULL development board cannot be inserted into the SD card when using OTG burning.
mx6ull-4gemmc-512mddr-qt5.6.vbs , to burn 4GeMMC+512MDDR system
mx6ull-256mnand-256mddr-cmd.vbs , to burn 256MNAND+256MDDR system
a, First copy the programming tool Mfg tool to windows and decompress, the burning tool path is as follows: user information\Linux\burning tool\mfgtools.zip
b, 5V power supply is as shown in the figure, and the switch is dialed to the power supply port:
c, DIP switch is set to 1, 2 is ON, and other states are arbitrary. As shown in the figure:
d.Double-click "mx6ull-256mnand-256mddr-cmd.vbs" (the script has been written, directly burned), as the following shows:
e.Insert a USB OTG, as shown below:
Automatic recognition as HID, as shown in the figure:
f. Click start, start burning the system, pop up the format dialog in the middle, click the "Cancel" formatting option, or ignore it until the burning is complete. As shown in the figure:
g. After the system programming is completed, "Done" appears, and then click "stop" to stop. Click "Exit" again to close the burning tool. Power off, dial the DIP switch to 4, 5, 8 are ALL, 1, 2, 3, 6, 7 are OFF, power on the iMX6ULL development board, NAND starts.
Second, step through the kernel
1. eMMC step-by-step update kernel
After the system boots, put the device tree to be replaced in the USB flash drive, insert it into the development board, and enter the command in HyperTerminal:
- root@fl-imx6ull:~# cp /run/media/sda1/imx6ull-S-gpmi-1024x600c7.dtb /run/media/mmcblk1p1/imx6ull-S-gpmi-1024x600c7.dtb
- root@fl-imx6ull:~# cp /run/media/sda1/zImage /run/media/mmcblk1p1/zImage
- root@fl-imx6ull:~# sync
- root@fl-imx6ull:~# reboot
After restarting, select the corresponding dtb at the uboot stage.
2. Nand step-by-step updates the kernel
Updating dtb as well as the kernel, logo, can use the nandwrite command, which is also packaged in the file system. When using, copy the dtb, logo, and zImage files to be programmed to a directory in the file system (/root in this example), then erase the old firmware in the corresponding partition, and then use the nandwrite command to write the new firmware to the corresponding partition. The reference command is as follows:
- root@fl-imx6ull:~# flash_erase /dev/mtd4 0 0
- Erasing 128 Kibyte @ 7e0000 -- 100 % complete
- root@fl-imx6ull:~# nandwrite -p /dev/mtd4 /run/media/sda1/target/zImage
- Writing data to block 0 at offset 0x0
- Writing data to block 1 at offset 0x20000
- Writing data to block 2 at offset 0x40000
- ...
Update the kernel:
- Update dtb:
- root@fl-imx6ull:~# flash_erase /dev/mtd3 0 0
- Erasing 128 Kibyte @ 2e0000 -- 100 % complete
- root@fl-imx6ull:~# nandwrite -p /dev/mtd3 /run/media/sda1/target/imx6ull-S-gpmi-800x480c7.dtb
- Writing data to block 0 at offset 0x0
Update logo:
- root@fl-imx6ull:~# flash_erase /dev/mtd1 0 0
- Erasing 128 Kibyte @ 1e0000 -- 100 % complete
- root@fl-imx6ull:~# nandwrite -p /dev/mtd1 /run/media/sda1/target/logo.bmp
- Writing data to block 0 at offset 0x0
- Writing data to block 1 at offset 0x20000
- Writing data to block 2 at offset 0x40000


