NXP iMX8MP - Start, Programming and Simulation of M-core for Multi-core Heterogeneous Processor
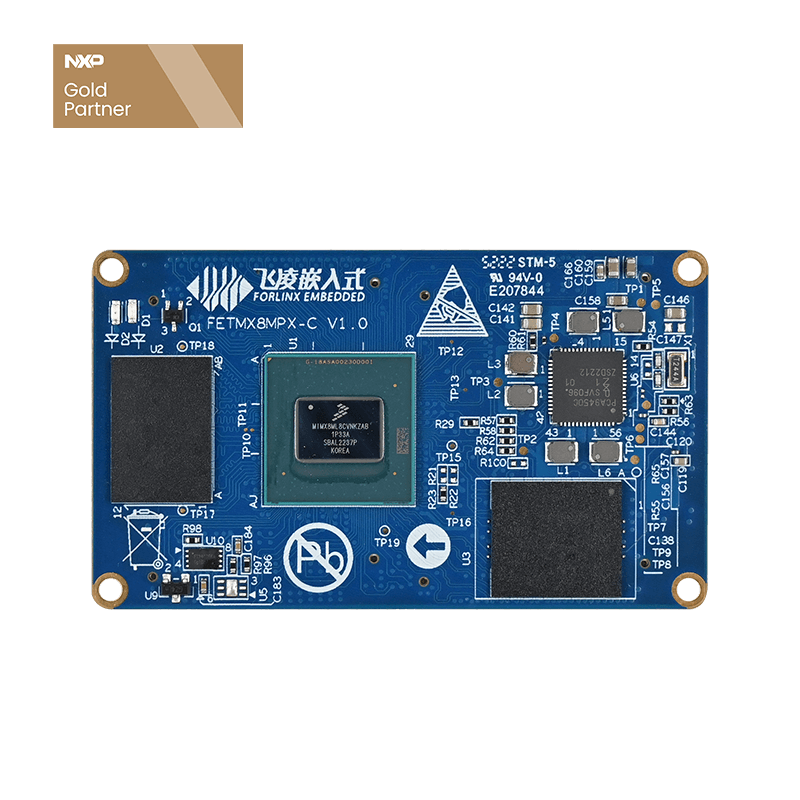
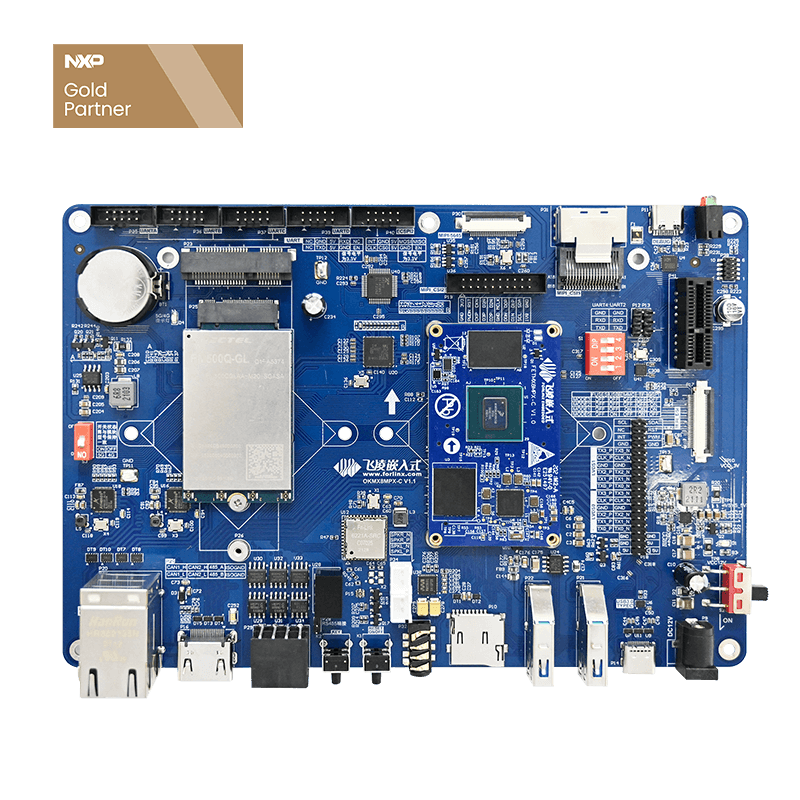
The NXP i.MX8M Plus,equipped on Folinx embedded OKMX8MP-C, has strong performance, integrating four multi-core ARM Cortex-A53 with frequency maximum to 1.8GHz, (industrial grade option@ 1.6GHz) and one real-time Cortex-M7 that can easily handle high-speed data throughput, processing, and complex HMI interface processing.
Taking OKMX8MP-C as an example, the following article introduces the start configuration, programming and real-time simulation of M-core.
M-core Start
The M-core of NXP i.MX8M Plus can’t start separately without uboot loading. Therefore, the OKMX8MP-C, built on this processor and developed by Forlinx Embedded, doesn’t enable M-core in default. It needs to configure M-core automatic start by modifying uboot environment variables.
Every time, after A-core start, uboot loads the bin file under the directory: /run/media/mmcblk2p1/; the kernel initialization completes after M-core start, and the resource domain changes from 0 to 1. Then, the program round-run can be finished by initializing clock, peripherals and memory etc.
1. Loading M-core with Uboot Environment Variables
(1) Restart OKMX8MP-C and press the space key to enter uboot command line console.
(2) Input “1” to enter uboot console. Then, input the following orders in sequence to modify uboot environment variables, so that it can load M-core.
2. Loading M-core
(1) We can use IAR software to compile the program of Folinx M-core software development package. Then we can generate *.bin file under the directory /IAR/debug and change the file name to:forlinx_m7_tcm_firmware.bin;
(2) We can copy forlinx_m7_tcm_firmware.bin to the directory(/run/media/mmcblk2p1/) of SoM by various methods, such as serial port Xmodem, network FTP, SCP, USB, TF card, etc. and input sync command in Linux debugging serial port synchronously;
(3) Power on OKMX8MP-C again, A-core uboot loads the M-core program. The program's printing information can be seen through the M-core serial port.
M-core Programming
Many users, using single-chip, are used to writing program through IDE tools, such as Keil or IAR; Due to the poor usability of the software, we often use compiler, such as VScode etc. to do code editing&development; But these compilers are quite inconvenient for program compilation, burn-writing, and simulation; and people may have a headache when choosing tools.
It is recommended to use VScode for coding and modifying, and IAR for program compilation, download, and simulation.
1. IDE Tool——IAR
IAR is one integrated development environment (IDE) that supports single-chip processors from many manufacturers, one application providing development environment and one development software integrated with code writing, analysis, compilation, debugging, and other functions etc.
The IAR version requirement of iMX8M Plus is above 9.20. And, users can download it online. After installing IAR, users can open SDK development package provided by Forlinx, see iarg engineering file* under directory: boards\evkmimx8mp\driver_examples\*\*\iar and double click to open IAR project.
2. VScode
Launched by Microsoft, VScode is a cross platform editor that can run on platforms, such as Windows, Linux, and iOS. It can be turned into a compiler by installing plugins.
Open the software→click the file in the menu→open the folder→select the relative routine under SDK to finish coding.
M-core Simulation
The Folinx embedded OKMX8MP-C supports JTAG's hardware simulation function for M-core. Users can set breakpoints through JTAG in IAR to check and modify every variable in real time, run programs at full speed or in single-step run, and improve the efficiency of program troubleshooting.
1. JTAG Installation
(1) Download J-LINK driver from Segger official website→ Install the program on the computer. Select IAR for IDE tool.
(2) As i.MX8M Plus is new-release chip, it is necessary to replace the 8MP J-LINK driver under the Segger directory.
(3) If using NXP official SDK, the startup file needs to be replaced.
2. Hardware Connectivity
The JTAG interface of Folinx embedded OKMX8MP-C uses standard wire sequence. Users can connect with J-LINK by a 20pin 2.54 to 10pin 1.27 JTAG adapter plate and a 10pin1.27 cable. Please pay attention: the J-LINK 1 pin should correspond to the JTAG 1 pin of SoM.
3. Hardware Simulation
(1) After programming , users place executive program under the directory of SoM: /run/media/mmcblk2p1/. In the hardware simulation, the SDK is loaded in memory to execute,so the program needing simulation is not the same one in forlinx_m7_tcm_firmware.bin.
(2) Click simulation button or Ctrl+D to enter simulation page, where users can set breakpoints, monitoring variables, single-step and full-speed execution, reset, and other operations normally.
(3) If needing to check task scheduling of freeRTOS s , users can right click (Refer to the image) and select OptionS.
4. Serial Port Printing
Besides supporting JLink hardware simulation, the Folinx embedded OKMX8MP-C can also output printing information to the M-core serial port through PRINTF function in the application to get program run process.


