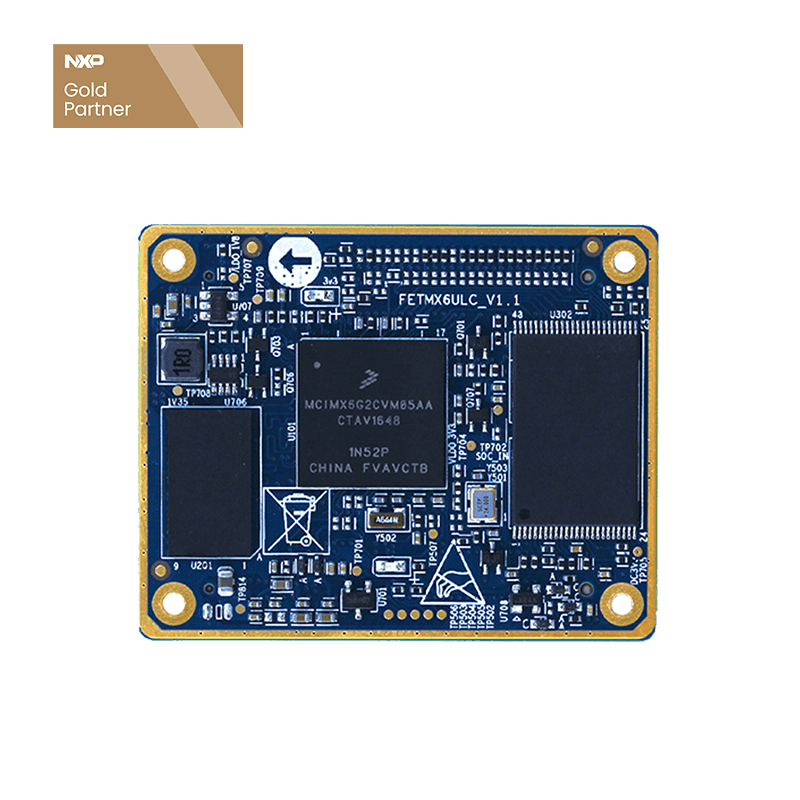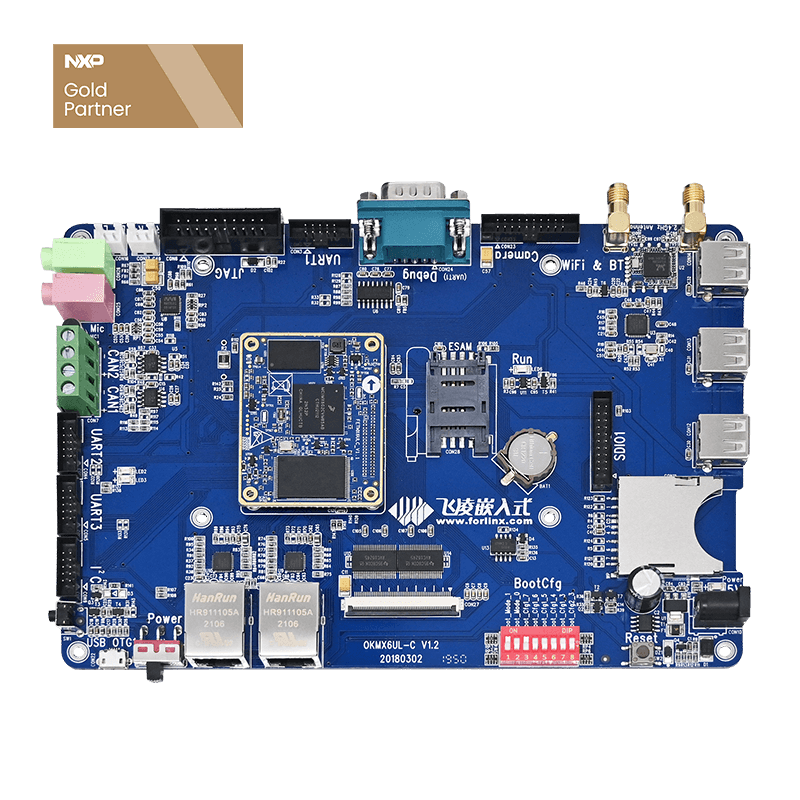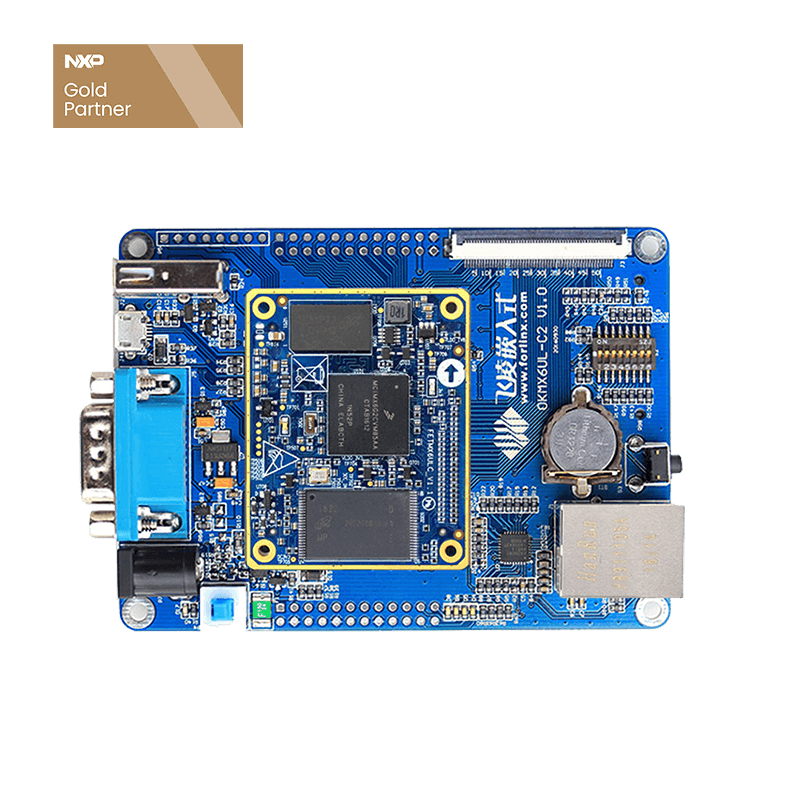
Compilation of Linux for Forlinx Embedded i.MX6UL Development Board
The development environment is the software and hardware platform required by the developers in the development process. The development environment is not a fixed style. This article will explain in detail the method of setting up an embedded Linux development environment. If you already have a good understanding of embedded development, you can build an environment according to your needs. If the environment is different from this article and an error occurs, you can search for relevant information from some domestic Linux forums and websites to solve it. The environment introduced in this article has been tested by Forlinx Embedded Company. If you are not very familiar with embedded development, I hope you will build the environment according to the method provided by Forlinx Embedded. Dear friends, you can rest assured to follow the method described in this article to build a development environment.
1.1 Version description
Operating system: Ubuntu12.04 64-bit version
Cross tool chain: arm-fsl-linux-gnueabi-gcc-4.6.2
Bootloader version: u-boot-2015.04
Kernel version: linux-3.14.38
1.2 Compilation environment description
Linux PC: Install ubuntu12.04 directly on the PC as the compilation host. The advantage of this is that the compilation speed is fast and stable.
Vmware8.0+ubuntu12.04: Install the virtual machine under XP and compile it under the virtual machine. The advantage of this method is that a development environment can be built on one computer, and compilation and programming are all done on the same computer. The disadvantage is that the compilation speed is too slow and various network services are unstable.
1.3 Build a compilation environment
1.3.1:Ubuntu installation and settings
Introduction to Ubuntu Linux:
Ubuntu is a Linux operating system based on desktop applications. Ubuntu has many advantages. Compared with other versions of Linux, Ubuntu also has its own advantages. First of all, the installation system is very simple, requiring very few settings, which is completely comparable to the Windows desktop system; secondly, the graphical interface is very user-friendly, imitating the shortcut keys commonly used under xp; also, installation and upgrade procedures At the same time, you can install the dependent file packages by the system itself through the network, and you don’t have to worry about the dependencies of the Linux system anymore. Considering your usage habits and learning needs, we choose Ubuntu Linux and provide the Ubuntu 12.04 CD-ROM image ‘ubuntu-12.04-i386.iso’ in the product CD to facilitate user burning and virtual system installation.
There are many versions of Linux desktop system. At present, all Linux experiments and source code in this manual can pass the test of ubuntu-12.04 version. Using other versions of Linux desktop systems, there may be problems related to the gcc compiler and library files. If you encounter similar problems, you can consult and inquire on the official forum of the Linux system distributor. If you are not familiar with Linux, it is strongly recommended to use the method introduced by Forlinx.
In addition, in order to meet the needs of users, in the appendix of this manual, the use of VMware virtual machines is explained in detail. Refer to "Appendix 5: Installation and Settings of Virtual Machine VMware-8.0" for details on virtual machine related operations
Ubuntu official website: 129H http://www.ubuntu.org.cn
All versions of Ubuntu can be downloaded. Of course, all kinds of information about Ubuntu can be found on the official website.
Ubuntu official forum: 130H http://forum.ubuntu.org.cn/
You can find a lot of useful Ubuntu resources, Chinese forums. Ubuntu also has an official English forum.
1.3.2 Install Ubuntu
Step 1: First prepare a Ubuntu 12.04 installation CD. Insert the CD into the CD drive, set the PC boot mode to CD drive boot in the PC's bios, and start the PC.
Step 2: After starting the PC, the installation disk will prompt to select the installation language. Use the arrow keys of the PC keyboard to select the language displayed during the installation process, here we select English>>click the "Install Ubuntu" button.
Step 3: Choose "Erase disk and install Ubuntu" click ” Continue” button
( Note: Non-virtual systems will format your hard drive! Please proceed with caution.)
Step 4: Allocation of hard disk space and mount point. Choose the default here. It can also be set according to personal needs. Click "Install Now"
Step 5: Select the keyboard layout, the default is OK, click "Continue".
Step 6: Select the location, Shanghai, Continue:
Step 7: Enter the system user name and password. The user name entered here: forlinx, password: 123456 are just examples. Click the "Continue" button, and the system will complete the installation.
Note: The user name here belongs to an ordinary user and does not have root user authority.
1.3.3 Linux terminal
In the Linux system, the terminal is a very practical window for interacting with the operating system. You can use the terminal to compile applications and start various system services, which occupies a very important position in the Linux system.
Operate as shown in the figure to set the terminal as a shortcut key.
From now on, you can run the terminal window every time you click the icon on the launch panel:
1.3.4 Ubuntu 12.04 root user login settings
By default, ubuntu12.04 does not allow root login, and only ordinary users and guest logins can be seen in the login window. We need to make some changes after logging into Ubuntu as a normal user.
Step 1: After a normal user logs in, you need to switch to super user mode to modify the system configuration file, enter the command in the terminal window and press Enter:
#sudo -s
Step 2: Then enter the system password set during the installation of Ubuntu 12.04 to enter the root user authority mode.
Step 3: Execute in the terminal window
#gedit /etc/lightdm/lightdm.conf
Step 4: Delete and paste the following seven lines in the entire text:
[SeatDefaults]
allow-guest=false
autologin-user=root
autologin-user-timeout=0
autologin-session=lightdm-autologin
user-session=ubuntu
greeter-session=unity-greeter
Step 5: Then we start the root account:
# sudo passwd root
Step 6: Enter the root account password as prompted. (Note: Enter the password in Linux without symbol display)
Step 7: Restart ubuntu, there is no need to manually enter the root user name and password, the system will automatically enter the root user.
1.3.5 Set Ubuntu network parameters
Because the network environment of each PC is not necessarily the same, you need to set up the Ubuntu network according to your actual situation. If the setting is unsuccessful, you can go to the official Ubuntu forum for consultation. The setting method of PC Linux network in this article is for reference only.
The screenshot is the steps to set the virtual machine dhcp to automatically obtain the ip
Choose nat way
After the above method is set, there is no need to set the ip address in the virtual machine.
Step 1: Start Ubuntu, log in to the system as root user, click the button at the top right of the desktop, and the following options will pop up:
Step 2: Select System Settings, double-click Network to enter the network settings item:
Step 3: Click the Options button
Step 4: Select IPV4 settings, enter your IP address, subnet mask, gateway, DNS, click Save..., the network settings are successful.
Step 5: Test it, the author’s host IP is 192.168.0.30, use a virtual machine to ping the host:
The figure proves that the network setting is successful.
1.3.6 Install cross compiler
Step 1:gcc-4.6.2-glibc-2.13-linaro-multilib-2011.12.tar.gz Copy to the Ubuntu home directory
i.MX6UL User CD /iMX6UL User CD (A) \linux\tool\gcc-4.6.2-glibc-2.13-linaro-multilib-2011.12.tar.gz
Step 2: Create a new terminal in Ubuntu, enter the following command to install the cross compiler:
#cd (Enter the main directory)
#mkdir -p /opt/freescale/usr/local (Create a directory, if the directory already exists, an error will be prompted, just skip it)
#tar jxvf gcc-4.6.2-glibc-2.13-linaro-multilib-2011.12.tar.gz -C /opt/freescale/usr/local (The compiler unzips to /opt/freescale/usr/local )
Step 3: Check whether gcc-4.6.2-glibc-2.13-linaro-multilib-2011.12 is successfully decompressed.
#ls -l /opt/freescale/usr/local
If you can see the gcc-4.6.2-glibc-2.13-linaro-multilib-2011.12 folder, the decompression is successful.
Step 4: Add environment variables to the profile, execute the command to open and edit the profile, and restart the computer.
#gedit /etc/profile
Add the following in the last line
export ARCH=arm
export CROSS_COMPILE=/opt/freescale/usr/local/gcc-4.6.2-glibc-2.13-linaro-multilib-2011.12/fsl-linaro-toolchain/bin/arm-none-linux-gnueabi-
export PATH=/opt/freescale/usr/local/gcc-4.6.2-glibc-2.13-linaro-multilib-2011.12/fsl-linaro-toolchain/bin:$PATH
Save and exit. Enter commands in the terminal to restart Ubuntu
#reboot
Step 5: Execute the following commands in the terminal to verify whether the cross compiler installation is successful
#arm-fsl-linux-gnueabi-gcc -v
The following picture shows the prompt of successful installation
Press Enter, you can use this compiler to compile Uboot code and kernel code.
Note: The above operations are based on the root user login system operation as an example; the modified file is only valid for the current user. If the user is switched through the terminal, the above modified file is invalid for the new user.
1.3.7 Install dependent packages
The compilation of Linux system requires the installation of some toolkits, and the scripts provided by our company can be executed for automatic installation. Before operating in this section, you must ensure that your computer or virtual machine can connect to the Internet normally. If you are disconnected from the network during the installation, please follow the steps below to install it again.
Ø The installation of the linux dependency package needs to be installed in the ubuntu12.04 32bit version and must be connected to the Internet.
Step 1: setup_env.sh Copy to Ubuntu home directory
i.MX6 User CD/i.MX6 User CD(A)\linux\tool\setup_env.sh
Step 2: Add executable permissions to setup_env.sh
#chmod u+x setup_env.sh
Step 3: Execute the script
#./setup_env.sh
Step 4: The following prompt appears during the installation process and the corresponding operation is required
Press Enter at this prompt
Enter "Y" at this prompt and press Enter
1.4 Compile
After setting up the development environment, the next step is to compile U-boot and Linux kernel on PC Linux. All operations in this article are based on the Feiling Embedded i.MX6UL development board. For information on iMX6UL, please contact Feiling Embedded Online Customer Service
1.4.1 Compile u-boot
uboot source code is not open source at the moment, please use u-boot.imx provided by Forlinx, where the file is located
Ø i.MX6UL user information /Linux \image\uboot.imx
If you transplant u-boot yourself, you can refer to the following methods to compile:
Step 1: Unzip the uboot source code, the command is as follows.
#tar zxvf uboot-2015-04.tar.bz2
Step 3:Compile uboot
#cd uboot-2015-04
# ./build.sh
After successful compilation, a binary file named ‘u-boot.imx’ will be generated in the ‘uboot-2015-04’ directory. This file is the U-boot image file that we need to burn to Emmc.
1.4.2 Compile Linux-3.14.38
Copy the compressed package 'linux-3.14.38.tar.gz' to your working directory and unzip it:
#tar zxvf linux-3.14.38.tar.bz2
Ø i.MX6 User CD /i.MX6 User CD(A) \linux\src\linux-3.14.38.tar.bz2
Ø Configure the kernel
Copy linux_imx6ul_config to .config to facilitate you to configure your kernel, the command is as follows.
#make distclean
#cp linux_imx6ul_config .config
Compile the kernel
To compile the kernel image zImage and device tree dtb, the command is as follows:
#make ARCH=arm CROSS_COMPILE=arm-fsl-linux-gnueabi-
Linux-3.14.38/arch/arm/boot/zImage Kernel image for future use
Linux-3.14.38/arch/arm/boot/dts/imx6ul-14x14-evk.dtb Device tree for future use
Separate compilation zImage
#make ARCH=arm CROSS_COMPILE=arm-fsl-linux-gnueabi- zImage
Separate compilation dtb
#make ARCH=arm CROSS_COMPILE=arm-fsl-linux-gnueabi- dtbs
1.4.3 Production rootfs
Step 1: Copy the file system source file ‘rootfs.tar.gz’ to the root directory of Ubuntu
i.MX6UL User CD /i.MX6UL User CD(A) \linux\src\rootfs.qt4.tar.bz2 qt Interface file system.
i.MX6ULUser CD /i.MX6UL User CD(A) \linux\src\rootfs.tar.bz2 console file system.
This article takes rootfs.qt4.tar.bz2 as an example for illustration, the operation of rootfs.tar.bz2 is the same.
Step 2: Unzip the file system source files
#tar zxvf rootfs.qt4.tar.bz2
Step 3: Start to make rootfs file system, make command:
#./pack-rootfs.sh
Finally, rootfs.tar.bz2 is generated as a file system image that can be downloaded to the emmc of the development board.
1.4.4 Update image
1. Use SD card
Put the compiled u-boot.imx、zImage、imx6ul-14x14-evk.dtb and rootfs.tar.bz2 in the CD data \Linux\src\ createSdcard.tar.bz2\update.tar.bz2\system, follow the "SD card burning" section to burn.
2. Use flashing tools
Put the compiled u-boot.imx、zImage、imx6ul-14x14-evk.dtb and rootfs.tar.bz2 in the CD-ROM data \Tools\mfgtools\Profiles\Linux\OS Firmware\files \linux,and burn it in accordance with the "Using Mfgtools Burning System" section.


